Steps For DIY Toilet Leak Detection
Toilet leaks can go undetected for days or even weeks until you realise that your bathroom floor resembles a swimming pool or you are slapped with a massive water bill. Detecting and fixing toilet leaks quickly is crucial to preventing water waste and property damage.
Our experienced plumbers have created a step-by-step guide for how to detect hidden toilet leaks, helping you to save water, resources and maintain a happy and properly functioning bathroom.

How to Identify a Toilet Leak
Visual Inspection
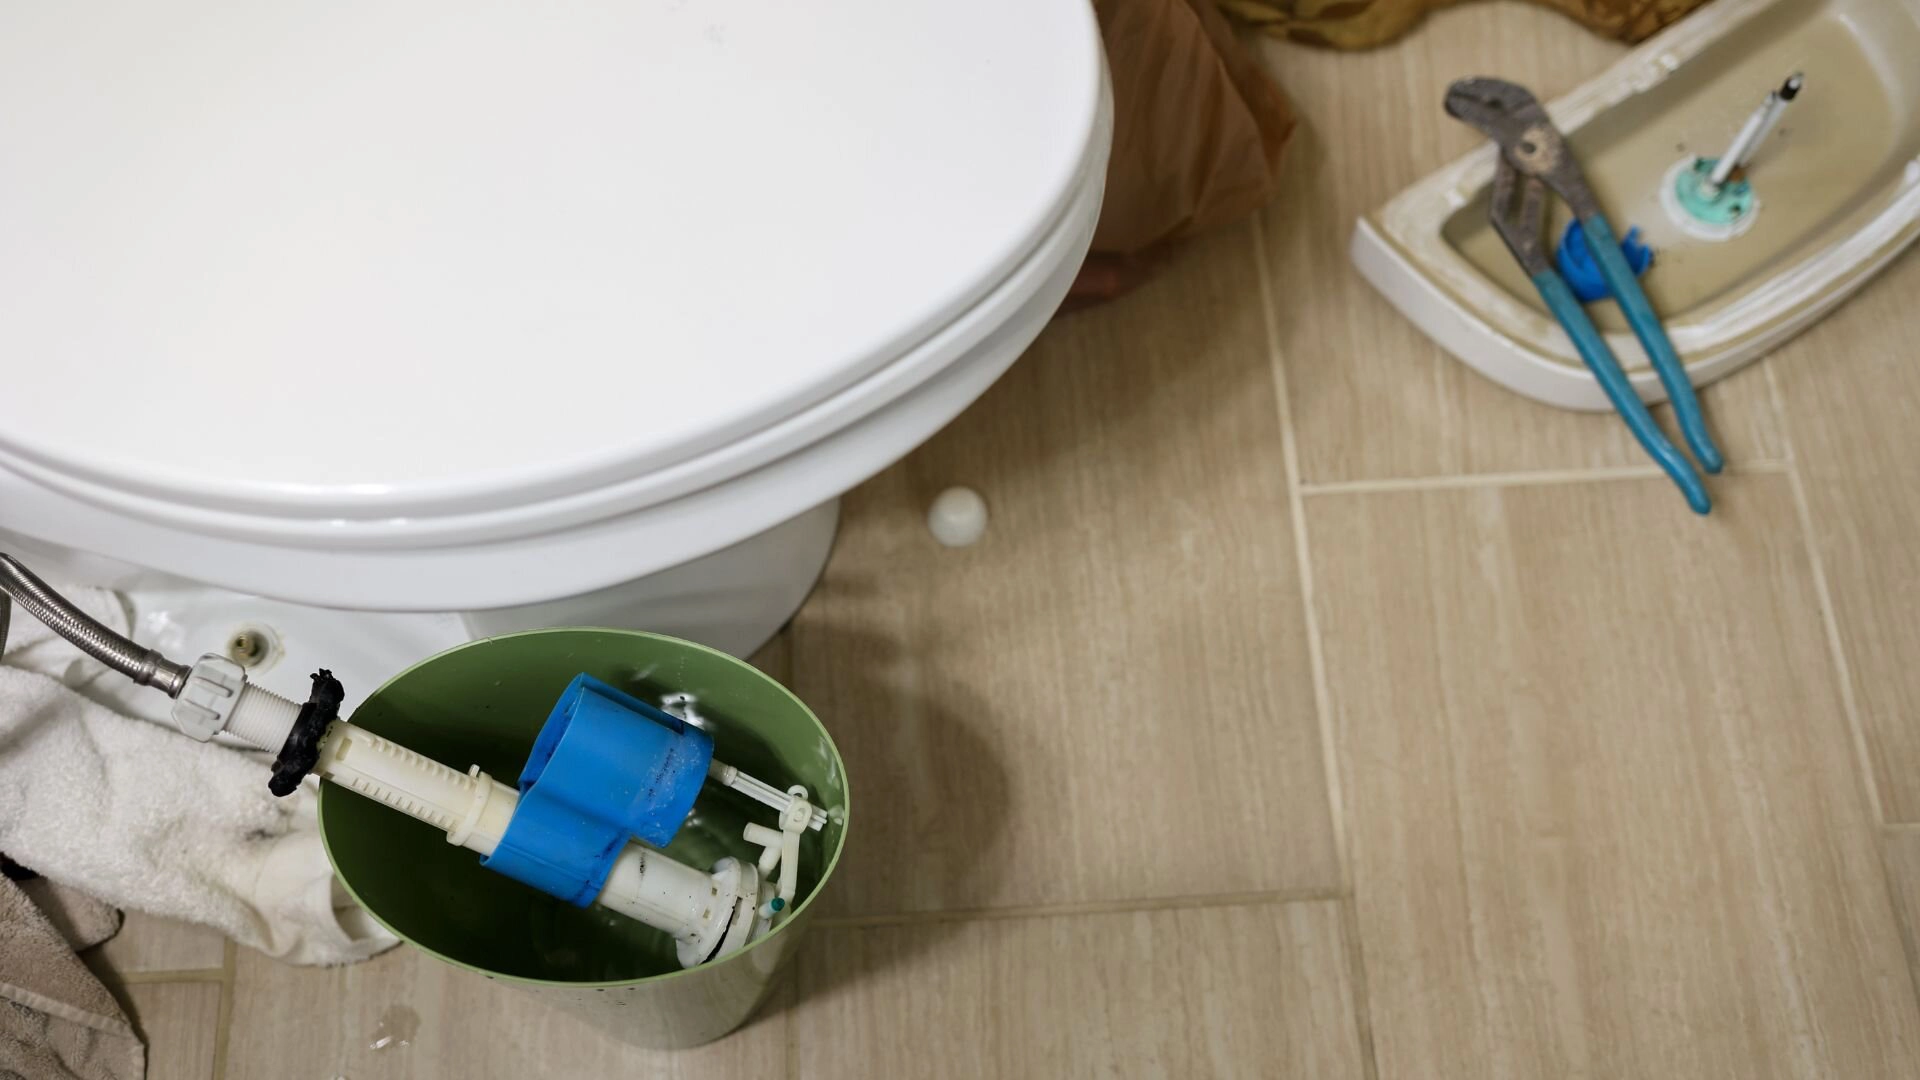
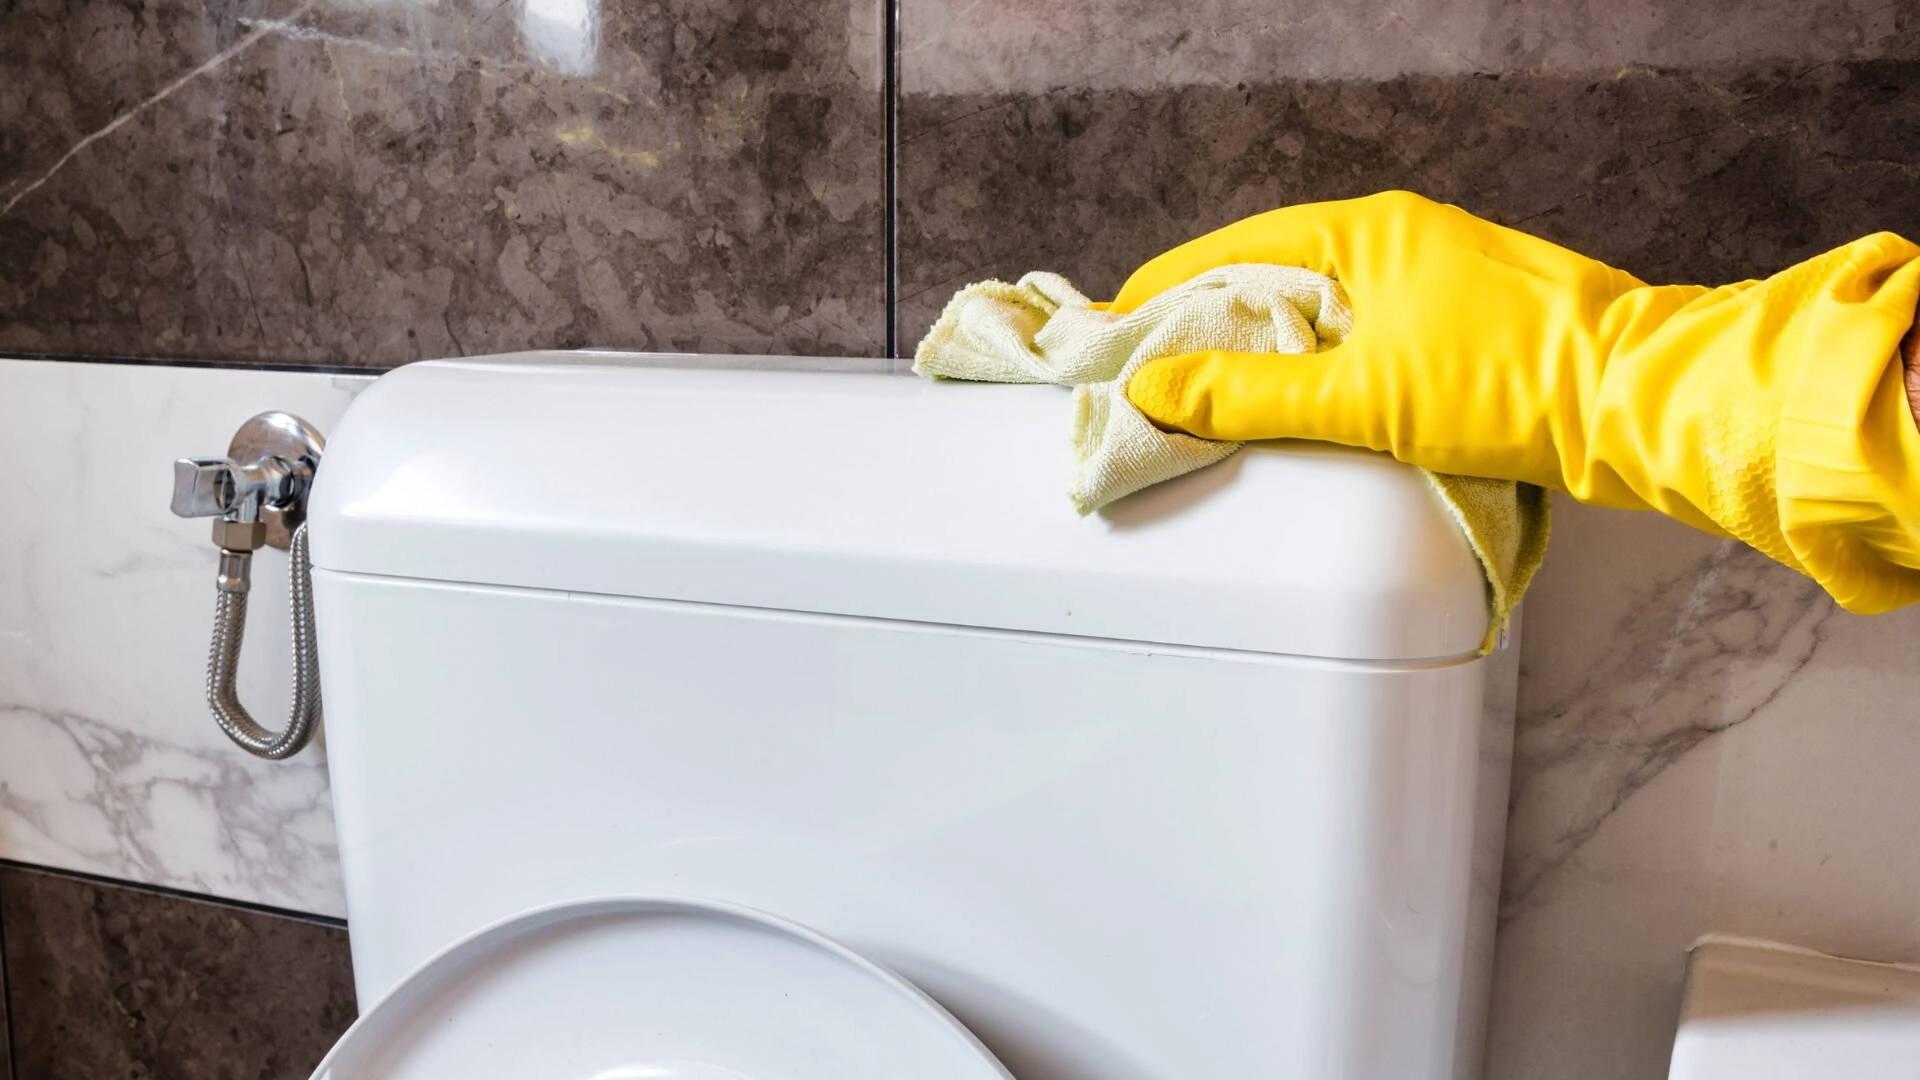
The first step to figuring out where your toilet is leaking from is to have a look inside your toilet. It’s not the most glamorous job but to get a proper understanding of what's going on it needs to be done. Keep an eye out for water pooling around the base or moisture on the tank.
Listen for Running Water
Another telltale sign that your toilet has sprung a leak is if you hear any unusual noises. Have a listen for noises like gurgling, hissing or the sound of running water.
Food Colouring Test
A cheap and simple DIY test you can do to figure out if your toilet is leaking is the food colouring test. Remove the lid of your toilet tank and add a few drop of food colouring into the water. Wait 15 - 30 minutes without flushing the toilet. If the coloured water appears in your toilet bowl, it’s a definitive sign that there’s a leak.
Check Your Water Meter
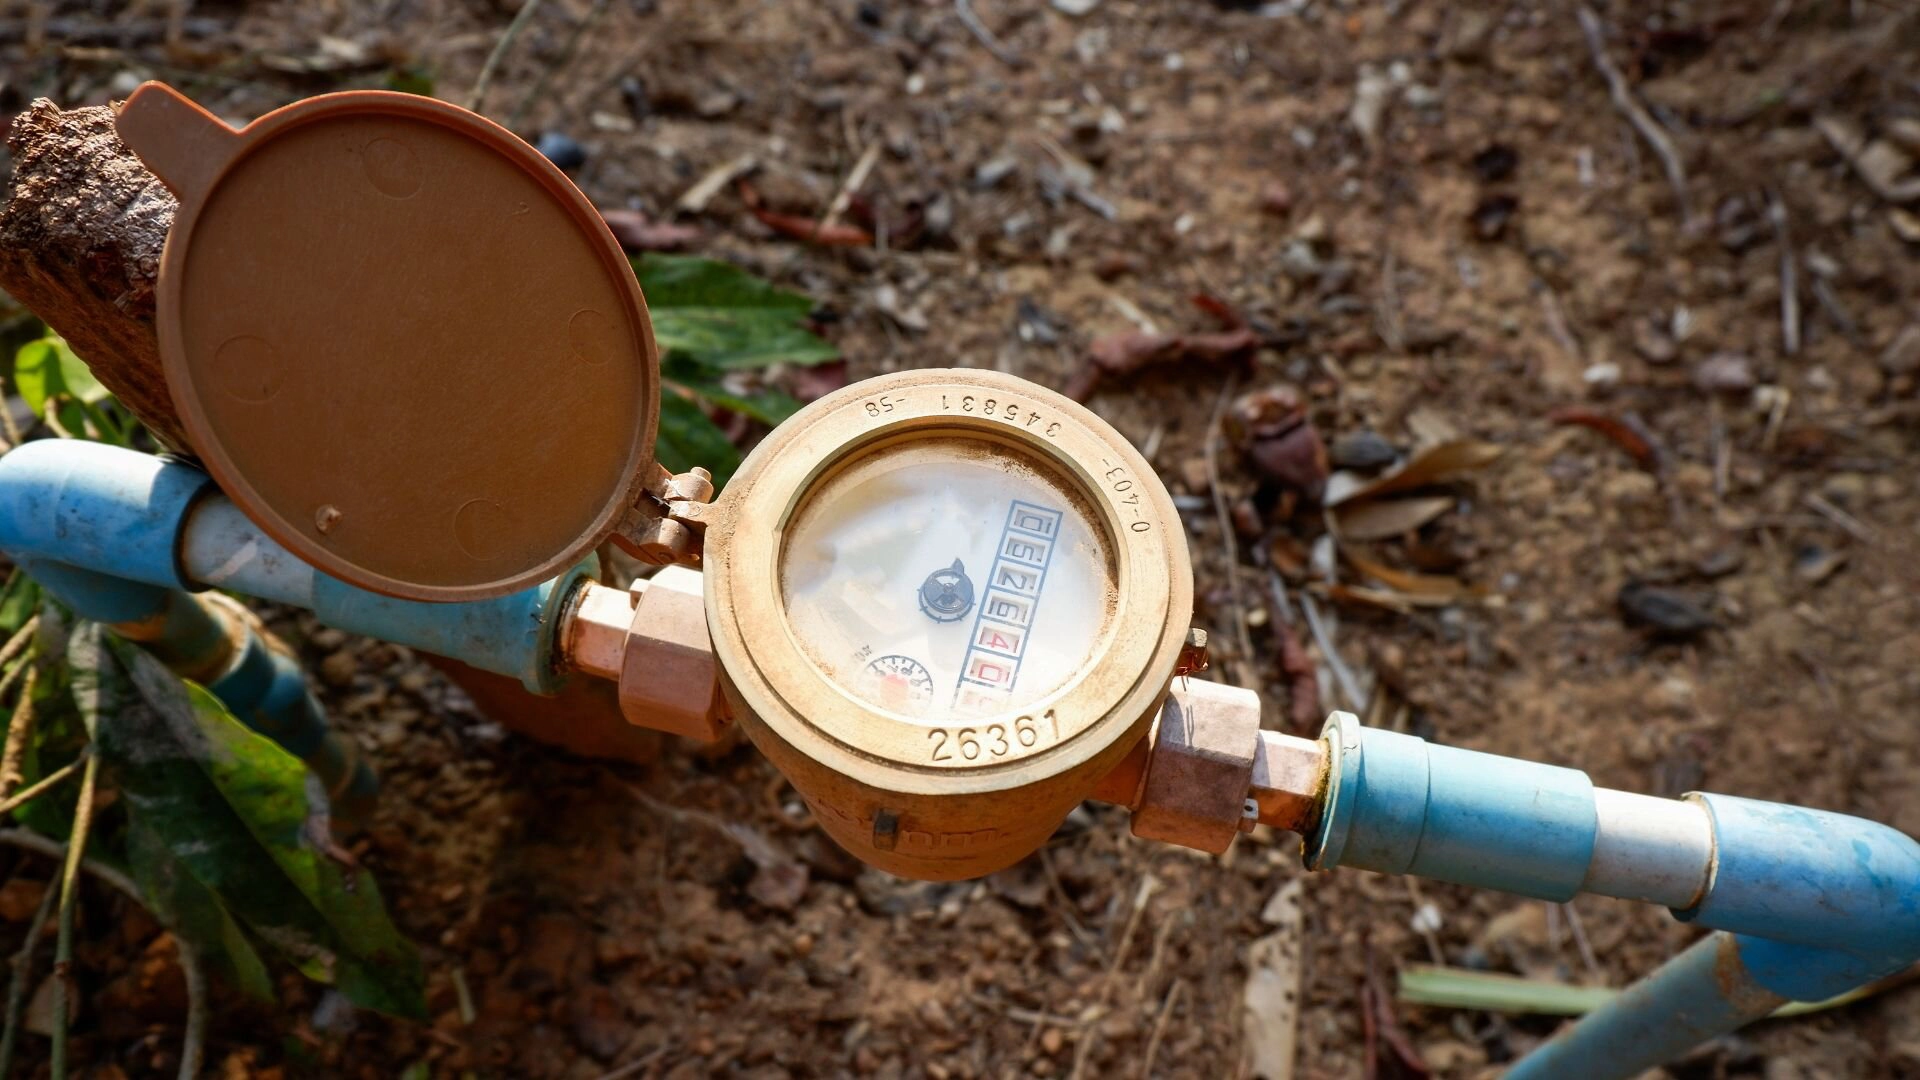
Another simple way to check if you have a leak is to look at your water meter. Your water meter is usually located in your front garden, near the front boundary or on the street curb inside a concrete or metal box. They are also often next to a garden tap. Once you have found your water meter, you’ll see two sets of numbers - one black and one red. The black numbers represent how many kilolitres of water you have used and the red numbers are how many litres of water has been used.
It’s important to check your water meter regularly to get an idea of how much water you use from day to day and if you have a hidden water leak.

DIY Toilet Leak Detection and Repair Guide
Before attempting to fix a leaking toilet, you’ve got to get the right tools. Our plumbers recommend things like a wrench, sponge and some food colouring. Remember to shut off your toilet’s water supply and flush to drain the tank.
Remove the tank lid carefully to inspect the overflow tube and pipe for signs that your toilet is leaking. If the toilet bowl water changes colour after adding food colouring to the tank, this indicates a leak, often due to a faulty overflow tube or flushing mechanism.
Step-by-Step Guide to Detecting and Fixing Toilet Leaks
Detecting and repairing a leaking toilet is crucial to prevent water waste and damage to your home. Follow these simple steps to help fix common issues:
1. Inspect the Flush Valve or Flapper
First, check the toilet tank’s flapper valve, which is a common culprit for leaks. Turn off the water supply valve and flush the toilet to empty the tank. If the flapper looks warped or damaged, replace it. A faulty flapper can allow water to seep into the toilet bowl, causing the water level in the tank to decrease and the float to rise, triggering excess water flow into the bowl.
2. Replace Tank-to-Bowl Gasket
A compromised tank-to-bowl gasket can cause leaks between the toilet tank and the bowl. After removing the tank lid, drain the water and unscrew the tank from the bowl. Replace the old gasket with a new one to ensure a watertight seal.
3. Identify Cracks in the Tank or Bowl
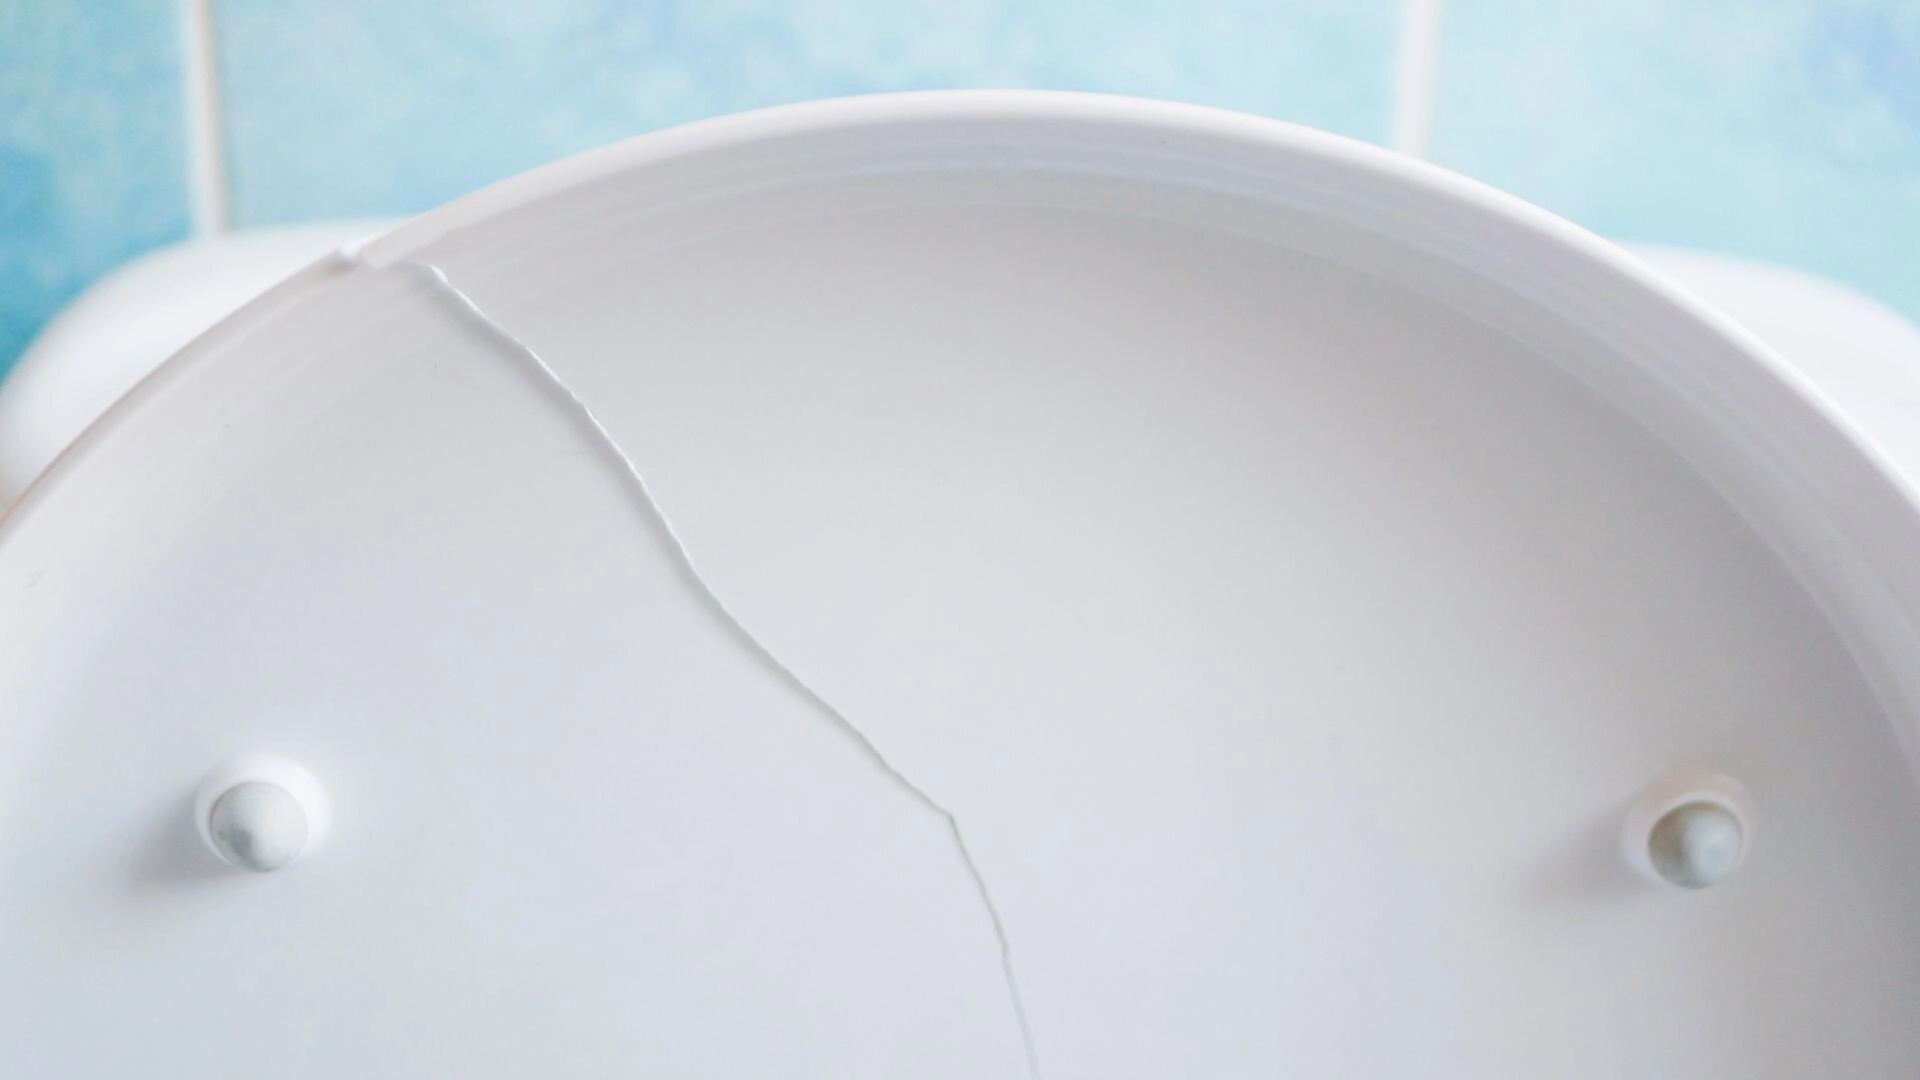
Examine the toilet tank and bowl for any cracks. Water on the floor or around the toilet could indicate a crack. If you find a crack, the toilet may need to be replaced, as sealants are typically a temporary fix.
4. Tighten Water Line Connections
Loose water line connections can also lead to a leaking toilet. Check the water supply line where it attaches to the toilet and tighten any loose connections. Be careful not to overtighten, as this could damage the fitting.
5. Food Colouring Test
Drop food colouring into the water tank to confirm if your toilet leaks from the tank to the bowl. Wait for about 30 minutes without flushing. If colour appears in the toilet bowl, there’s a leak. This simple test helps identify if water inside the tank is seeping through.
6. Check the Water Supply Line and Wax Ring
If you have tried everything and you still can’t find the source of the leak, it might be a problem with the wax ring beneath your toilet. A faulty and failing wax ring can lead to water leaks around the base of your toilet.
By conducting a thorough inspection of your toilet’s components and replacing them when needed, you can often fix your toilet without professional help. However, it’s best to consult with a plumber if you’re uncertain or uncomfortable performing these repairs.

Testing Your Repairs
Reopen the Water Supply: Turn the water supply valve back on to allow the tank to refill. Monitor the water level to ensure it stops at the correct height, indicating the float rises and seals off water intake properly.
Flush the Toilet: Perform a toilet flushing test to check for immediate signs of toilet leaking. Watch to see if any water is escaping from where it shouldn’t, like the base or the connection between the tank and bowl.
Observe Closely for Leaks: After the tank has refilled after flushing, have a look for any signs of water on the floor, around the toilet base, or between the toilet tank and bowl. These signs could signal towards a failed seal or leak.
Food Colouring Test: As a final check, drop a few drops of food colouring into the water inside the tank. Wait for about 30 minutes without flushing the toilet. If the water in the toilet bowl remains clear, this indicates a successful fix. Any colour in the bowl suggests a lingering leak.

Preventive Maintenance Tips for Avoiding Future Toilet Leaks
Preventive maintenance is key to avoiding future toilet leaks. Start with regular inspections, looking for moisture or cracks and ensuring the overflow pipe isn’t allowing excess water to flow into the bowl. Be mindful of what you flush; only sewage and biodegradable items should be flushed to prevent clogs and the associated strain on your plumbing.
Keep an eye on the water level in your tank to prevent it from becoming too high, which could lead to overflow issues. The water stop is crucial in this regard, as it should prevent the tank from filling excessively and halt the water flow at the correct level.
Additionally, take a proactive approach in replacing worn-out parts such as flappers and valves , as these can deteriorate over time and are common culprits of leaks. Lastly, treat your toilet lid carefully, closing it gently to avoid damaging the tank or its internal components.
Toilet Leak Detection Made Easy
Taking the time to thoroughly inspect your toilet for signs of potential leaks of system failures is an important step in preventing water damage and minimising water waste in your home. Recognisng the signs of a leaking toilet, such as excess water pooling around the base or the sound of running water when you aren't using it, can save you hundreds or even thousands of dollars in repairs and bills.
Our team of qualified and licensed plumbers are here to help. With a wealth of knowledge and expertise, they can quickly help you get to the bottom of the leak and fix it quickly if you DIY fails.
If you need help, call us today on 0480 007 206 or fill out our online enquiry form.